Click here to read Easy Tabletop Christmas Tree for Kids (with Printable) on Hands On As We Grow®
Use this fun and easy activity from Carlyn to decorate your home with a tabletop Christmas tree.
I love doing Christmas crafts with the kids! But let’s be real – there is only so much I can hang on the tree or stick to the fridge. Instead, I usually lean toward asking “how can the kids help decorate?”
After putting up our Christmas decorations this year, I realized our dining table looked empty. So I went searching for homemade tabletop Christmas trees ideas on Pinterest.
I saw so many pretty options, but — oh man — those were way too complicated for my toddler and preschooler! (And I want them to take pride in what they create, not just see my pretty work.)
So we just made our own easy tabletop Christmas tree out of simple cardboard and scrap materials we had around the house.
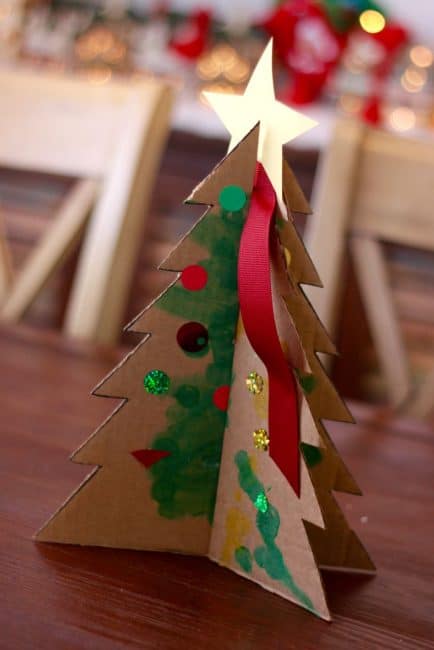
Sure, it’s only going to last 1 season. But we all had fun and both kids love seeing it at the breakfast table every morning.
I think this activity has become a new holiday tradition for us!
It’s easy to set up for your tabletop Christmas tree activity.
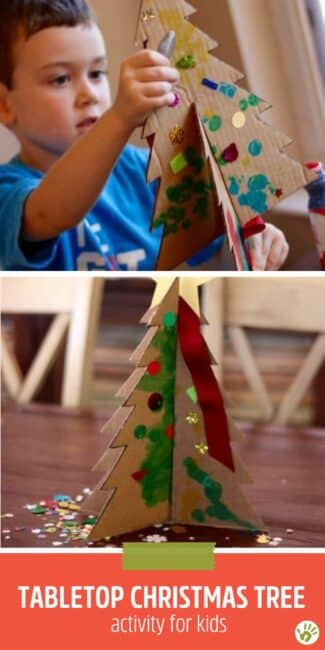
Before inviting the kids to come help decorate the tree, you’ll want to go ahead and cut the tree out for them.
We recycled part of a large cardboard box, or you can use a cereal box or any other sturdy material you have. You will be cutting 2 trees out of this cardboard, each roughly the size of a standard 8.5″ x 11″ piece of paper.
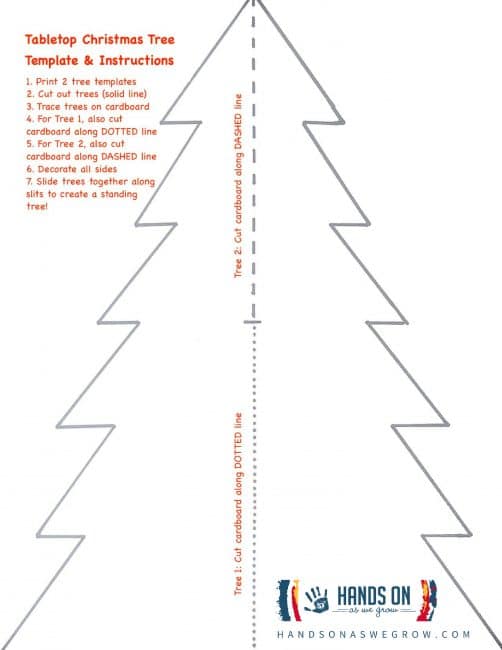
I drew my own tree template, but in case you’re not in the mood for that, feel free to download my Tabletop Christmas Tree Template Printable.
First, I traced 2 trees onto my cardboard.
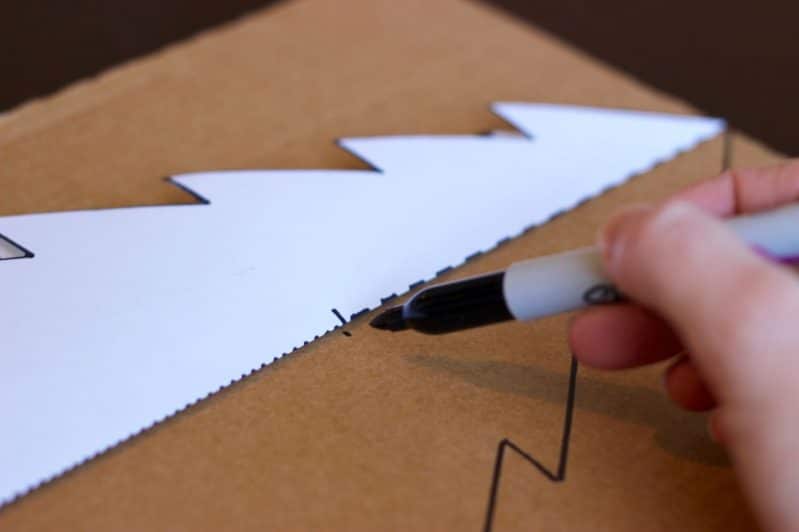
Here’s the only semi-tricky part: each tree will need a different slit cut so they can nest together and create a 3-D tree.
To do this, I folded the template down the center line, lined it up with my cardboard outline, and marked on my cardboard where the center of the tree was, using on the center mark on the template as a reference.
On one tree, draw a line from the center mark up to the top. On the other tree, draw a line from the center mark down to the bottom.
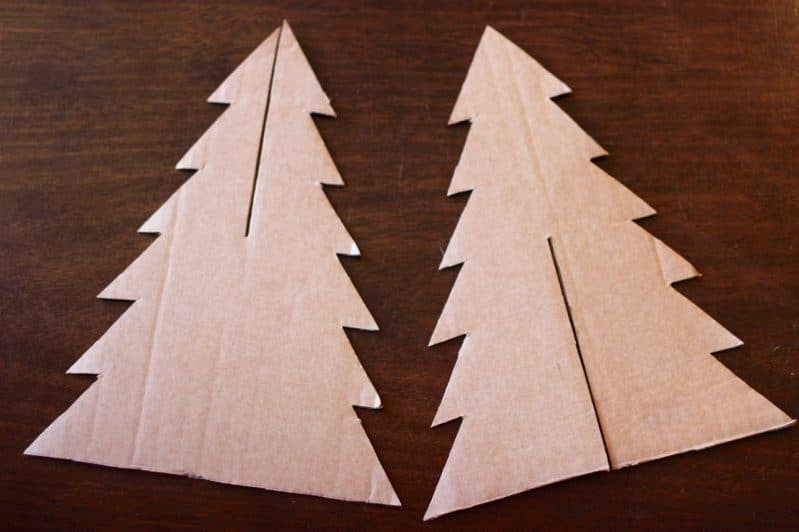
Now, cut along the lines and you’ll have two trees that will slide together!
If you’re just using a thin cereal box, your preschooler or older siblings may be able to get some good cutting practice and hand strengthening here.
Note: If you’re using a thick cardboard, make sure to cut your midline slit a little wider (the thickness of the cardboard itself), so they can slide together nicely when you assemble it later.
Learn how to use other recyclable materials for craft projects all year long.
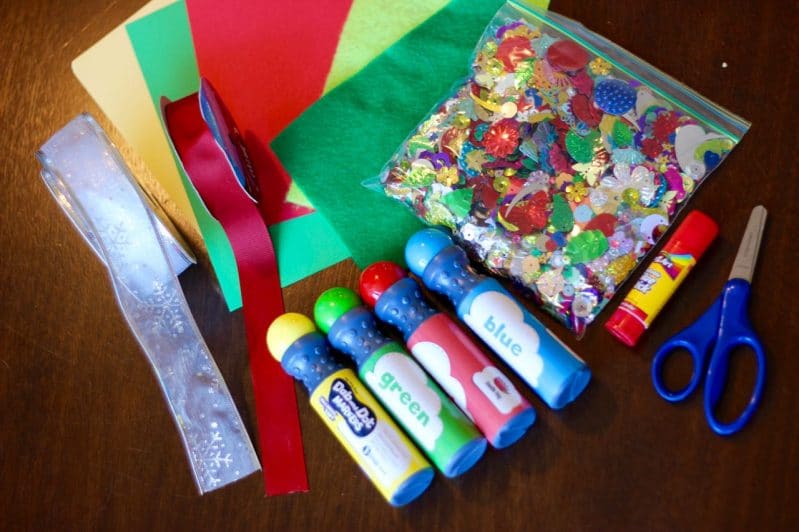
Gather some random decorating materials, and bring over the kids!
Seriously, the decorating part is really open-ended. We rummaged through supplies and ended up with some dot paint markers, sequins, scrap felt, scrap paper, ribbon.
Here are some other ideas of how you can decorate the tree:
- colored paper scraps
- finger painting, paint with brushes, q-tip painting
- glitter
- pom poms
- crayons or markers
- or any combination of all of these!
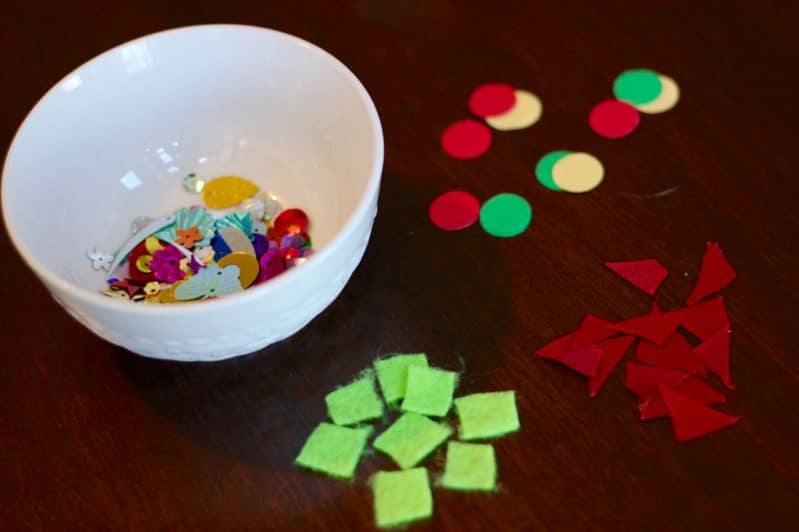
Bring in the tabletop Christmas tree decorators!
You’ll have two tree cutouts that each need decorations on both sides. Depending on how many kids you’ve got, they can each have their own tree cutout, or they can take turns decorating their own side.
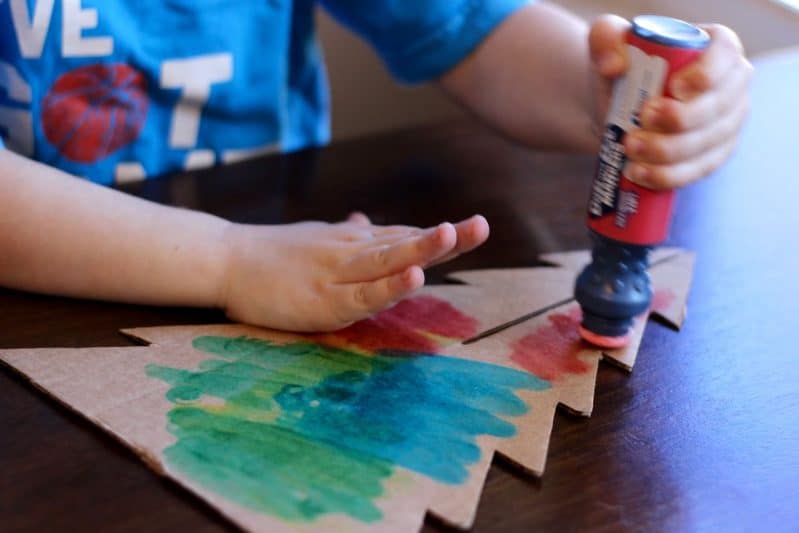
First, I handed my kids the dot paint markers to give the tree a little color. I LOVE these dot markers (affiliate link) because it’s like painting without the mess (and it dries quickly, too).
We kept it simple and used the raw cardboard. You could also paint these green ahead of time, and just let your kids put on the “ornaments.”
Next, I handed my boys a gluestick and some “ornaments” to decorate the tree.
My toddler is fantastic at sticking the decorations onto the glue, but still working on his glue skills. So I just put a dozen or so big glue dots on his tree, and he went to town!
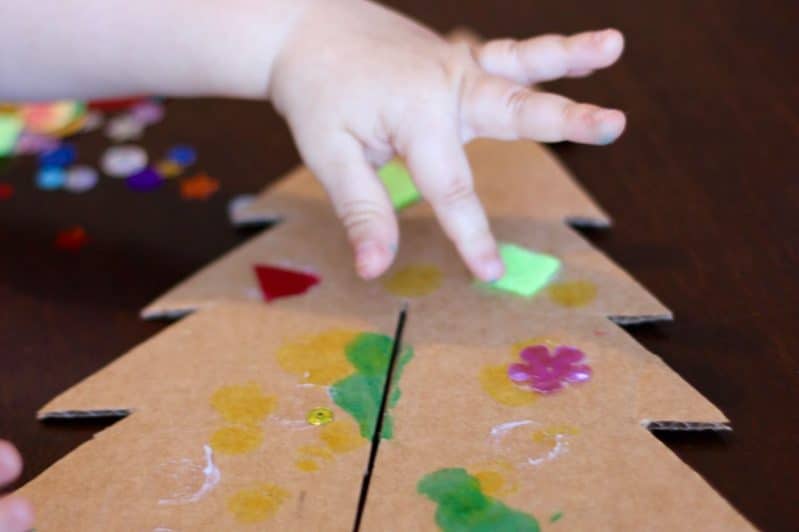
Don’t forget to flip over the cardboard and decorate both sides!
At this point, my preschooler was getting a little antsy. I told him how the tree pieces fit together and the excitement came alive again!
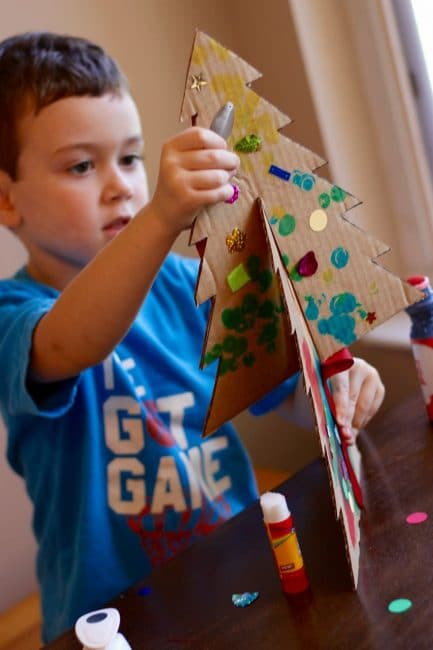
This right here is my favorite part of any activity. When there’s one more unexpected step, one twist, one thing to figure out… and my kids light up at the challenge.
I fought the urge to physically show my son how to assemble the tree. Instead, I gave him simple verbal instructions to see if he could work it out on his own.
When he saw the two pieces snap into place and stand on its own… that was the magic!
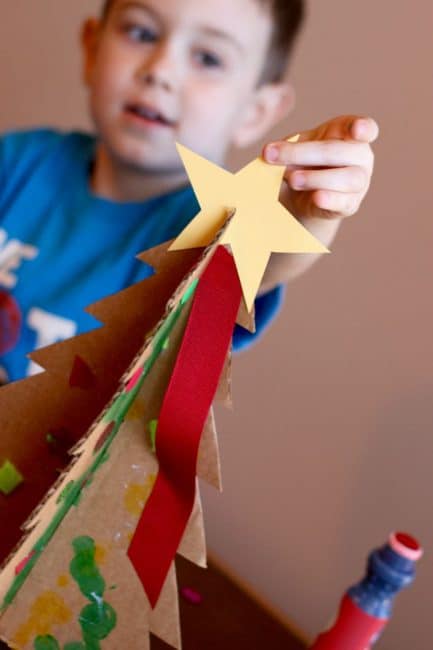
He even wanted to give it a star topper and some ribbon like our big tree at home.
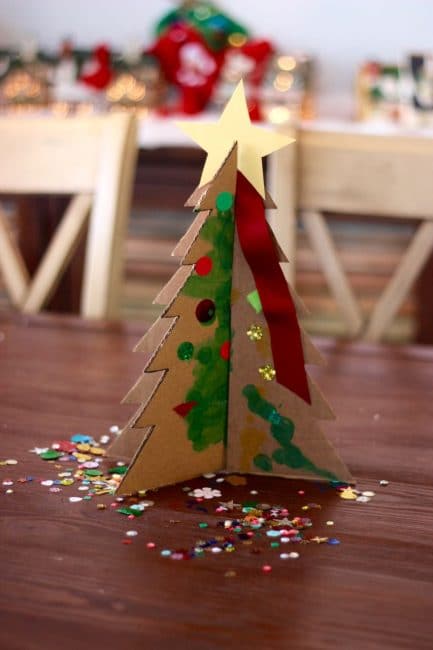
I really loved that this was a joint activity the boys could do together, and at the end, it merged into one shared decoration for the whole family.
We’ll definitely be doing it again next year!
0 Commentaires