Click here to read Parent-Tested, Kid-Approved Easy DIY Puffy Paint for Toddlers on Hands On As We Grow®
Learn from our toddler testing team - Amber's kids! We've refined this easy DIY puffy paint recipe so that it's simple to use in your next painting activity together!
My 3-year old has been obsessed with painting lately. He loves watercolor, especially when used with pastels.
I decided it was time to switch it up a little. So we tried out homemade puffy paint.
It was a ton of fun, but I learned the hard way that not all recipes are created equal!
NOTE: This puffy paint is NOT washable – even if you use washable tempera paint. We found this out the hard way!
Parent-Tested, Kid-Approved Easy DIY Puffy Paint for Toddlers
Hopefully, I’ve worked out some of the kinks for you, so you can have fun and get it right on the first try.
Winging DIY Puffy Paint – First Attempt
I made the mistake of “winging it” when I first made this paint with my toddlers. It went…fine.
I think this is an activity you actually need a good recipe. And then you need to follow it!
Here’s my “winging it” puffy paint recipe:
- shaving cream
- white school glue
- food coloring or tempera paint
This first time, I basically just mixed it up by feeling – adding a little of this and a little of that. It’s a cool science project, but won’t give you consistent DIY puffy paint results.
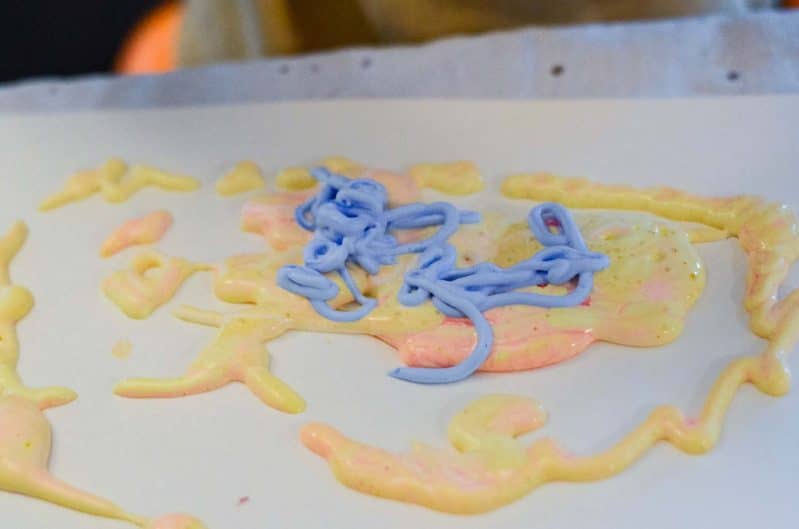
The first time, I added way too much shaving cream. It was fun and puffy while they were painting with it, the foam lost it’s form as it dried and they dried kind of flat.
So I decided to find you all a good recipe instead of just winging it! I found several online and some were quite different.
Common ingredients included salt, baking powder, glue, food coloring, paint, water, flour, and shaving cream. If you’re up for a DIY science experiment, try mixing up your own batch without a specific recipe by combining the most common ingredient in different amounts!
If you have a little scientist on your hands, try these kid-friendly experiments!
Tried & True Recipe – Second Attempt
I tried out a few different DIY puffy paint recipes and my favorite is the one I got from Meaningful Mama. The shaving cream makes it actually puffy, the flour makes it strong, and the glue makes it stay put and dry still puffy.
This is the recipe I will follow from now on!
For the puffy paint that stays puffed up, you’ll need:
- 3/4 cup of shaving cream (foam, not gel)
- 1/4 cup of white school glue (we used Elmer’s)
- 1/4 cup of flour
- Food coloring or tempera paint
I used tempera paint to add color, but food coloring works just as well too!
According to Meaningful Mama’s original recipe, you may need to add a little bit of water with the food coloring to get it runny enough for the squirt bottles.
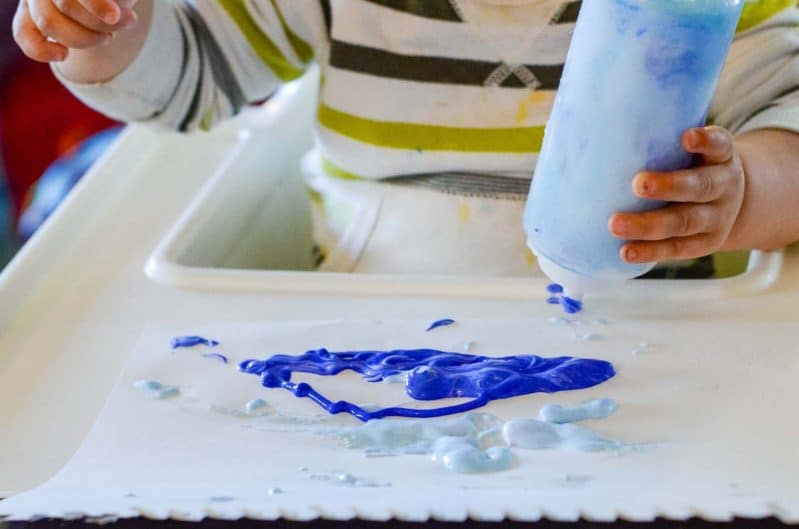
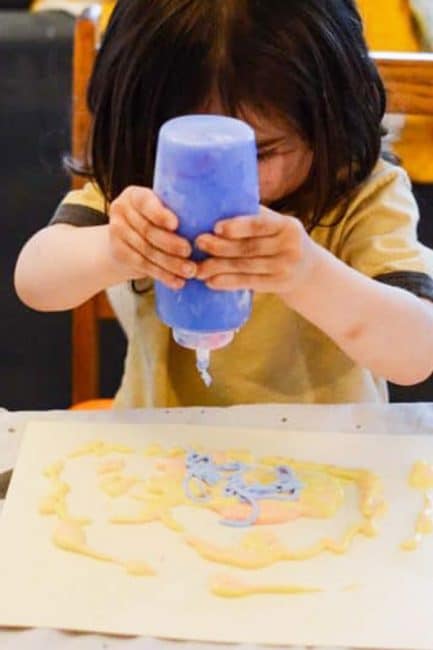
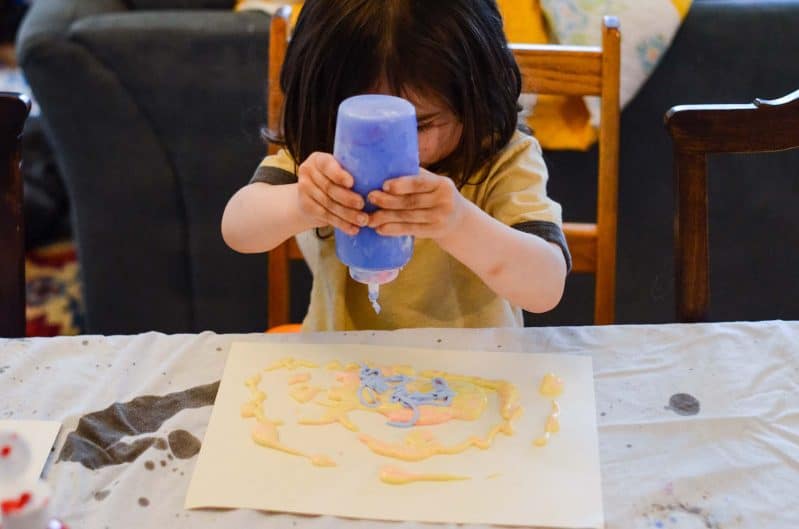
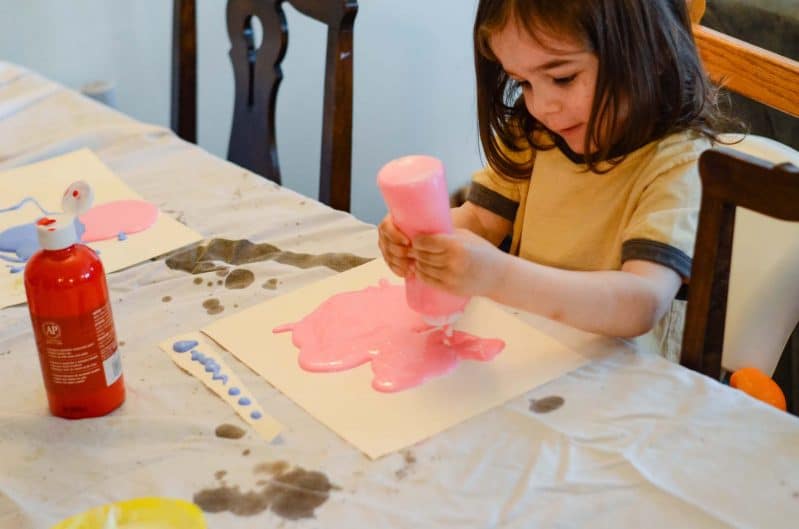
Mix the ingredients, then put in squirt bottles (like the kind ketchup come in) or plastic baggies with a corner snipped off. You can use a paintbrush or your fingers too, but the squirt bottle will help the puffy paint be, well, more puffy!
I found that this recipe with the flour was a lot more difficult to squeeze from the bottles. If you’re looking for something that’s easier for younger toddlers, or just want to play with process art, I would say skip the flour and add more shaving cream.
For older kids with good hand strength that want to create a picture, this recipe is the way to go. Plus, it’s a great way to build even more muscles!
Also, I want to warn you that this paint doesn’t keep well. I tried sealing off a bottle and using it the next day, but it had already started to dry up and lose its puff.
Using Puffy Paint with Toddlers
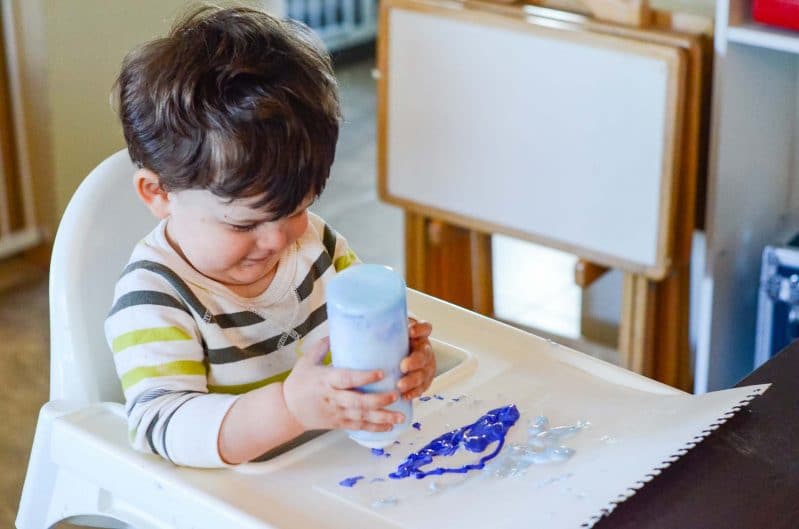
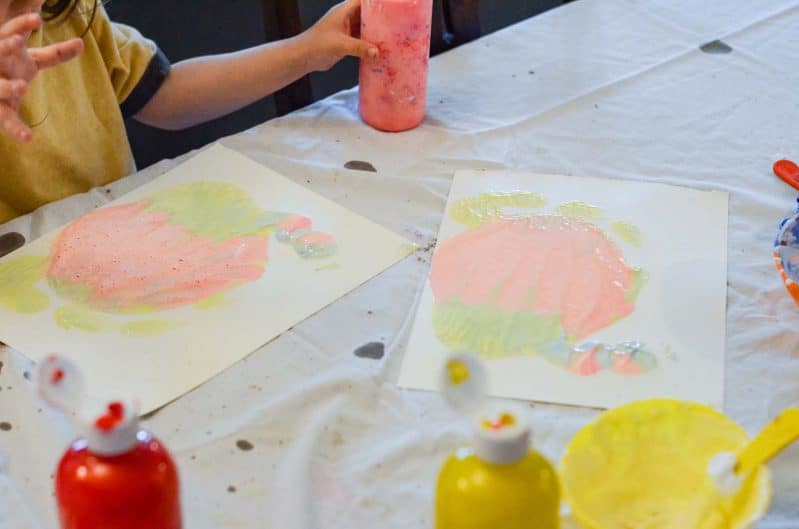
I mixed up a couple of colors of puffy paint and set it up with my toddlers.
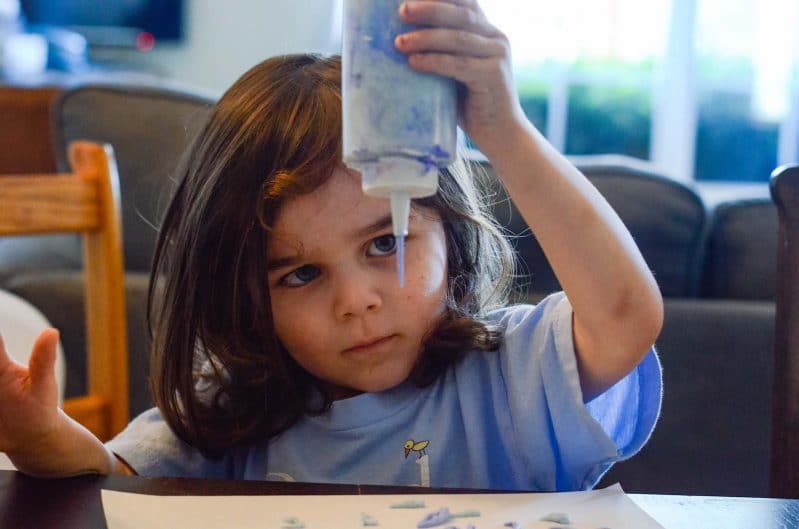
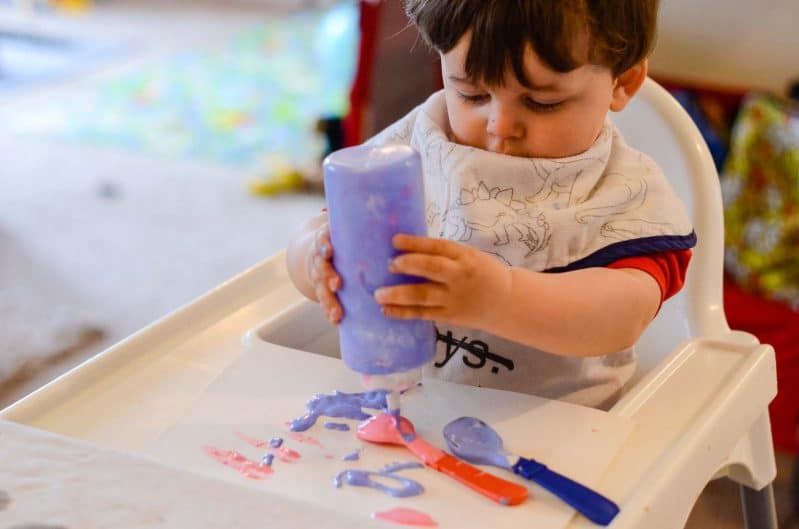
At first, I gave my 1-year-old the paint as just blobs on his high chair so he could use it as finger paint, but he wanted a squirt bottle like his big brother.
He did really well with the first trial recipe that had a lot of shaving cream, but the flour mixture was too hard for him to squeeze. I ended up adding more paint and shaving cream to his bottle until he could squeeze it out.
It didn’t dry puffy, but he didn’t care about that!
He did try to taste it a couple of times. Since it tastes so gross, he didn’t need more than one or two reminders.
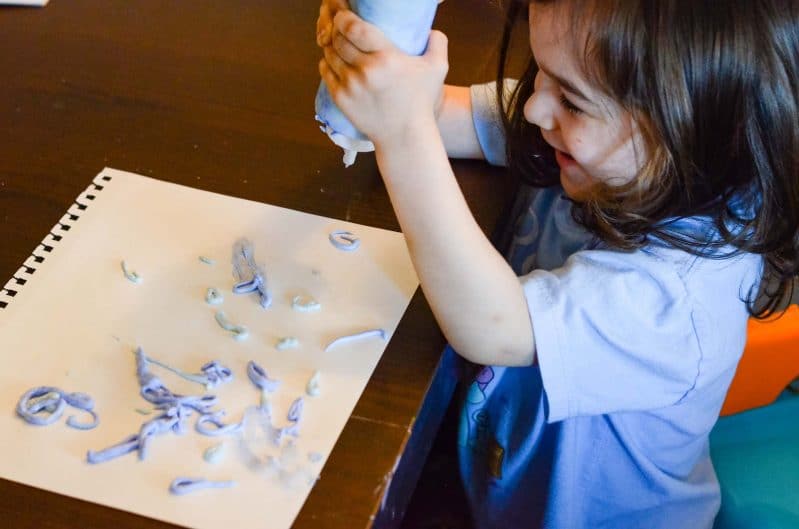
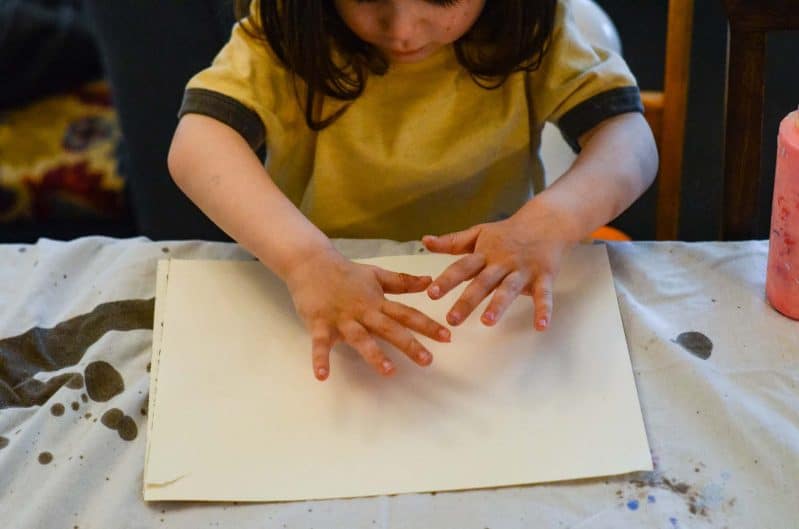
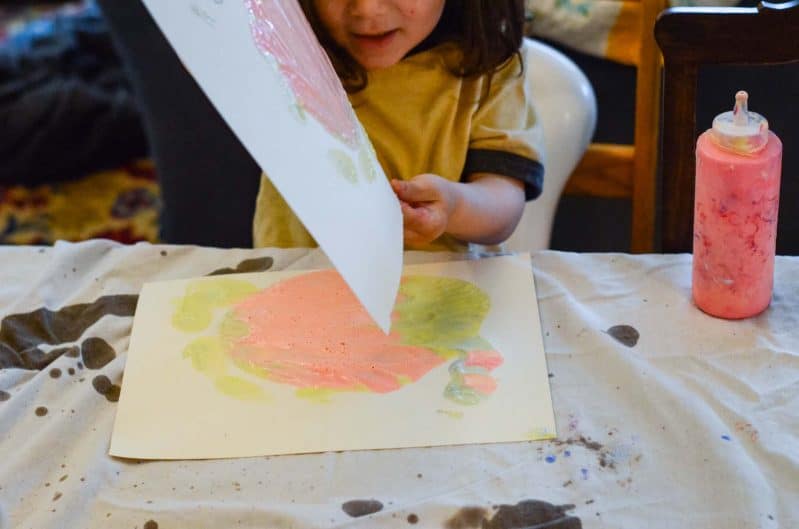
My 3-year-old ended up making blobs and huge puddles all over the paper. We tried putting another paper on top at one point, pulling them apart and making almost like a copied print.
This is a great trick I learned to do when a kid puts way too much paint on a piece of paper, we do this with other process art paint projects too.
The paint didn’t dry as puffed up on those ones, but it was fun to make!
This is definitely a messy activity, especially with young toddlers. I was very happy I laid down an old sheet first!
I put a bib on my younger toddler, but I think next time I’ll just get him down to his diaper.
Want to skip the mess? Our easy mess-less painting activity is for you!
It was such a novel texture and experience for them! I love that now I know the recipe for great puffy paint, and how to make it easier for smaller hands.
Biggest takeaway: find a trusted recipe but feel free to modify it with ingredient tweaks for your kids. I switched up the flour to shaving cream ratio for easier squeezing.


0 Commentaires