Click here to read Grow Leprechaun Hair for St. Patrick’s Day on Hands On As We Grow®
Grow your own leprechaun hair with this fun St. Patrick’s Day leprechaun craft for preschoolers from Brigitte.
It’s time to celebrate St. Patrick’s Day and the first day of spring! This leprechaun craft, inspired by the clay pot leprechaun on Ashley’s Craft Corner, is a perfect combination of both.
I added the twist of planting some grass seed in the “head” portion to make leprechaun hair!
Plus, your kids will get to dig around in some potting soil. Getting dirty seems to be a popular incentive to get kids crafting. And can even get in some good old cutting practice to give the leprechaun a haircut!
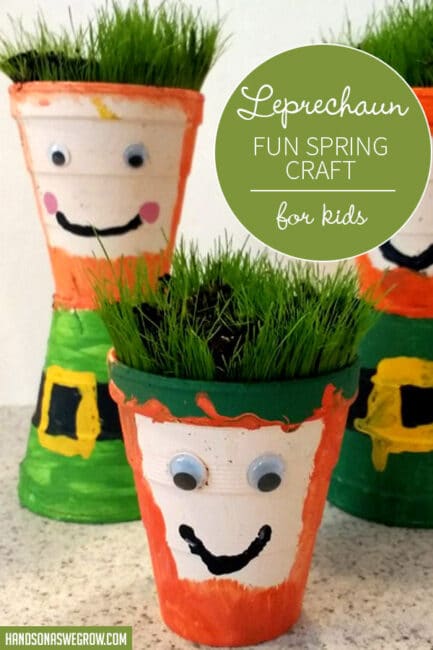
Growing Leprechaun Hair + Planter Craft
To make this leprechaun hair craft, we used (affiliate links included for your shopping convenience):
- foam cups
- hot glue and a hot glue gun (low temperature best for kids to learn)
- paintbrushes
- q-tips
- paint (orange, white, green, yellow, pink, and black)
- paper plate (as a palette for the paint)
- googly eyes (optional)
- potting mix
- grass seed
With a little prep work on my part, this St. Patrick’s Day craft same together easy peasy!
Erin Go Bragh with these fun St. Patrick's Day crafts for kids!
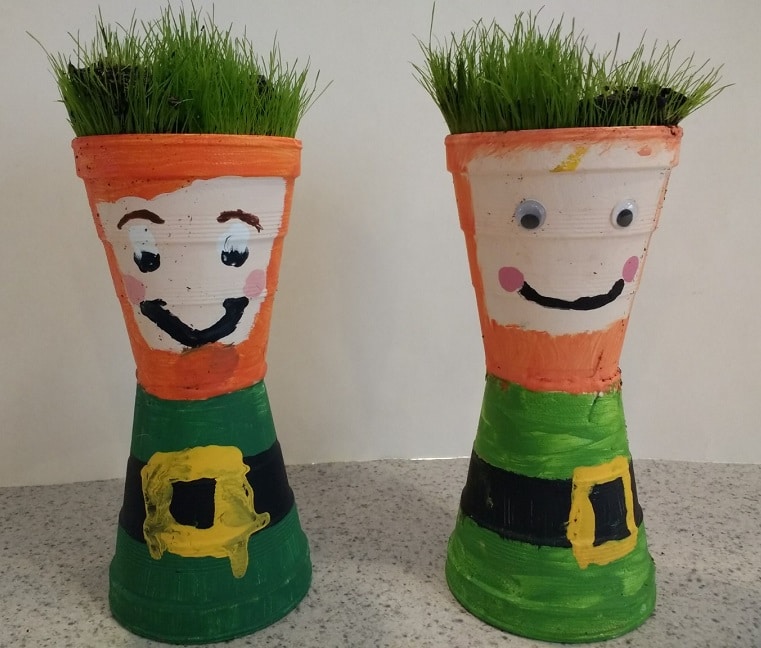
First, I hot glued the bottoms of two foam cups together for each of my daughters. One cup faced down and the other down, to make the “body” and the “head” of our leprechaun hair planter.
If the hot glue is too hot, it will melt the foam. A small bead of glue around the outside of the bottoms seemed to work well.
I double-checked the cups were sturdy when standing before giving them to my daughters. I didn’t want them to tip over once we added the dirt!
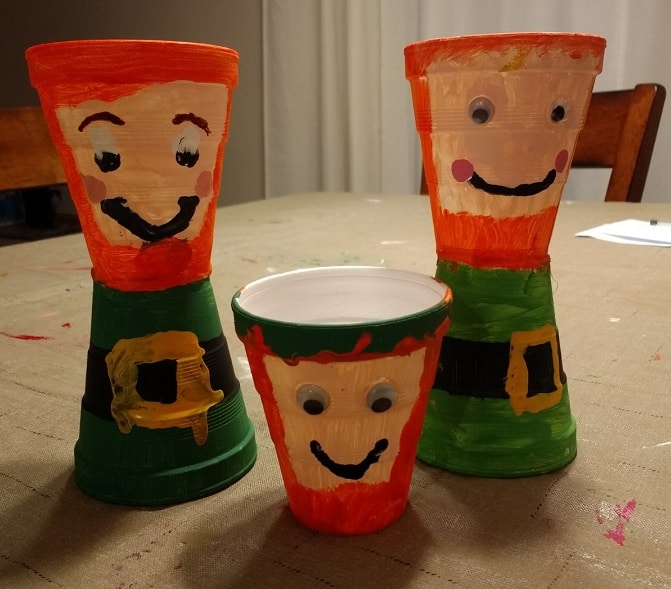
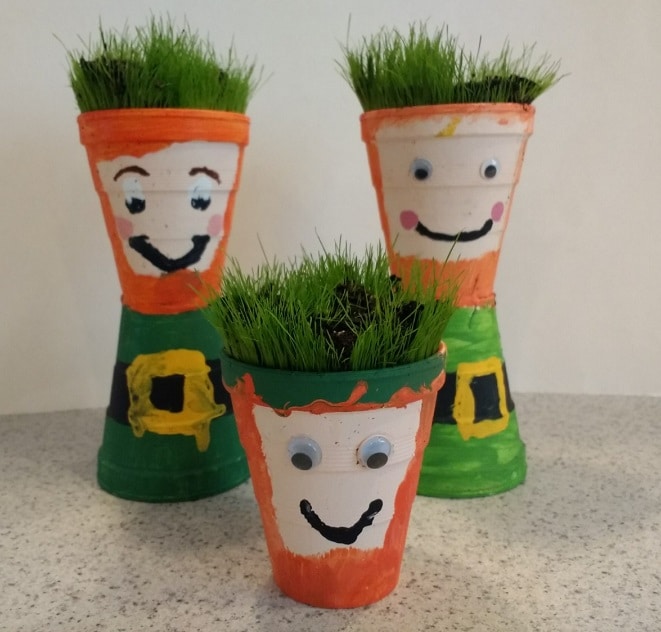
I made a third leprechaun using only one foam cup just to see how it would turn out. I think the ones with two cups turned out so much cuter, though.
Simple DIY Leprechaun Hair Craft for Spring
My daughters mixed colors of paint on the paper plate to try to create the color they wanted for the leprechaun’s face.
It was fun watching them experiment with the paint colors. They ended up using a little orange with some white paint to make a beige-like color.
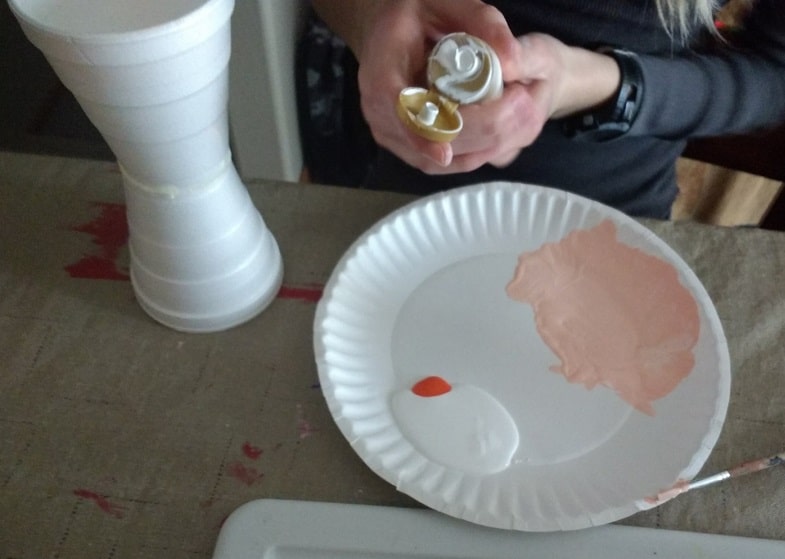
My daughters used a picture of the clay pot leprechaun craft found on Ashley’s Craft Corner as a reference for their leprechauns as they painted.
It’s interesting how the same craft can be completed in so many different ways. One daughter chose to paint the face first.
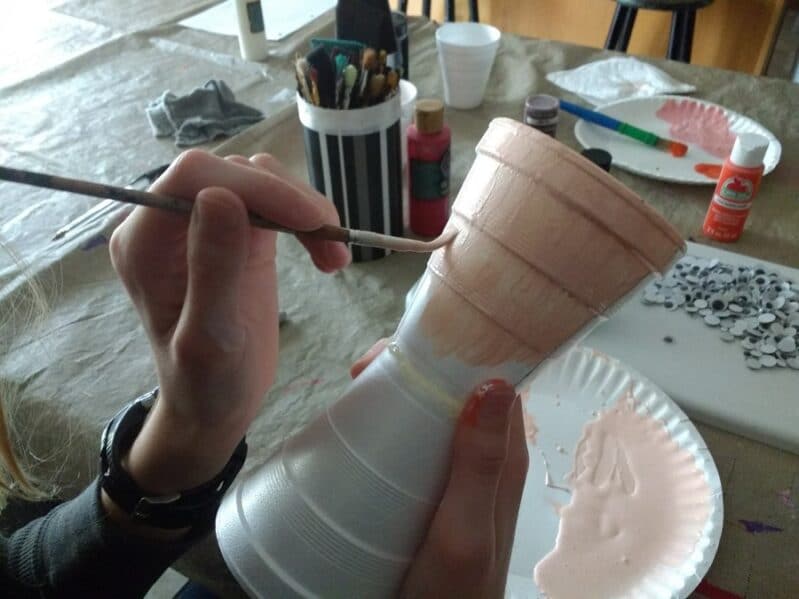
My other daughter painted the orange hair first.
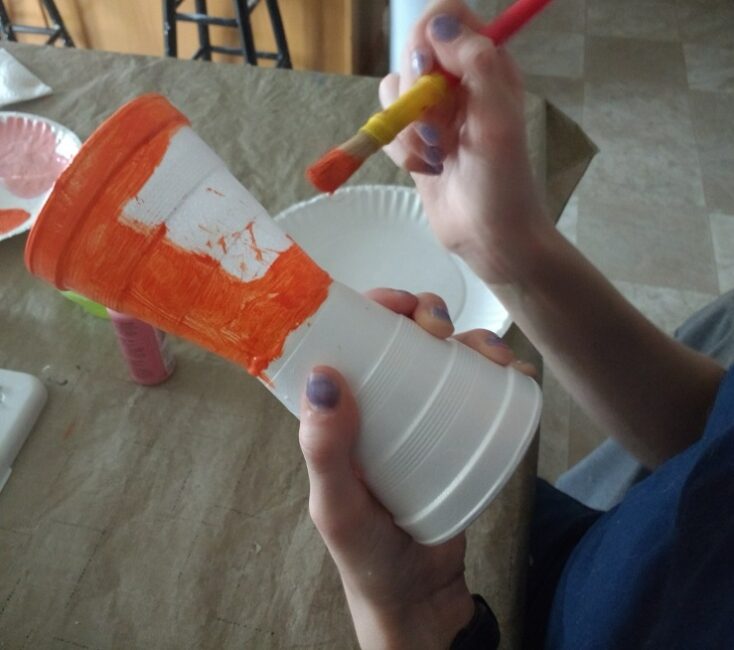
Neither way was necessarily better, just different. Encourage your child to experiment, too!
One of my daughters stuck googly eyes to her leprechaun’s face while the paint was still wet, instead of using glue. My other daughter painted eyes instead of using the googly eyes.
Again, both ways seemed to work just fine.
They both used q-tips to paint part of their leprechauns.
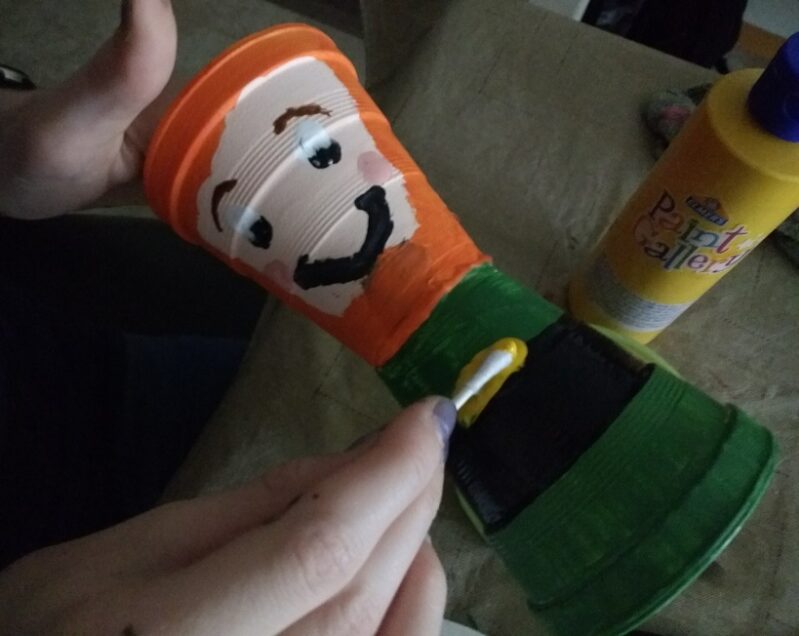
Then, it was time to wait for them to dry. This might have been the hardest part!
Plant Some “Hair” for St. Patrick’s Day
Once everything was dry, we did our spring planting.
We added potting mix and grass seeds to the foam cup with the face.
I’d recommend putting down a good, thick layer of plain soil first. Then you can sprinkle the seeds on top of that, covering with a very thin layer of soil.
Make your own upcycled garden containers with this simple DIY!
It was a very cold day, so we did this inside.
Using a table cover was very helpful! It would definitely be less of a mess to clean up if done outside, though.
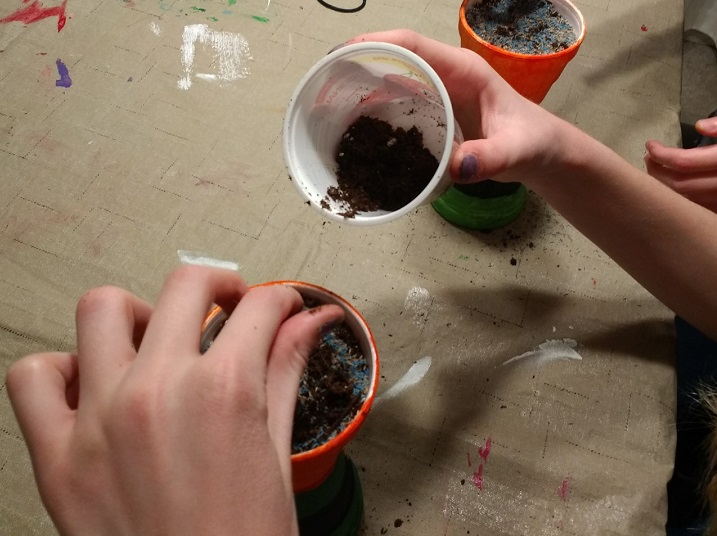
This was a great opportunity to talk about seeds. While we scooped dirt and sorted seeds, we chatted about:
- What do seeds need to grow?
- What grows from grass seeds? (Not an apple tree!)
- What colors are the seeds?
- How big are the seeds?
- How long will the seeds take to grow?
Then, came some more waiting for the leprechauns to grow hair.
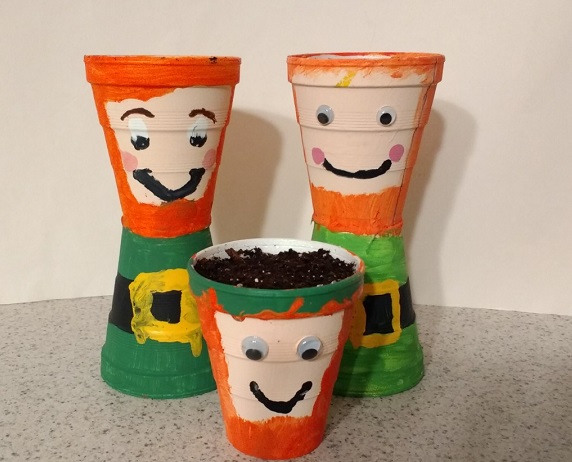
My daughters were eager to water and check on their leprechauns each day. We started to see some “hair” on day six.
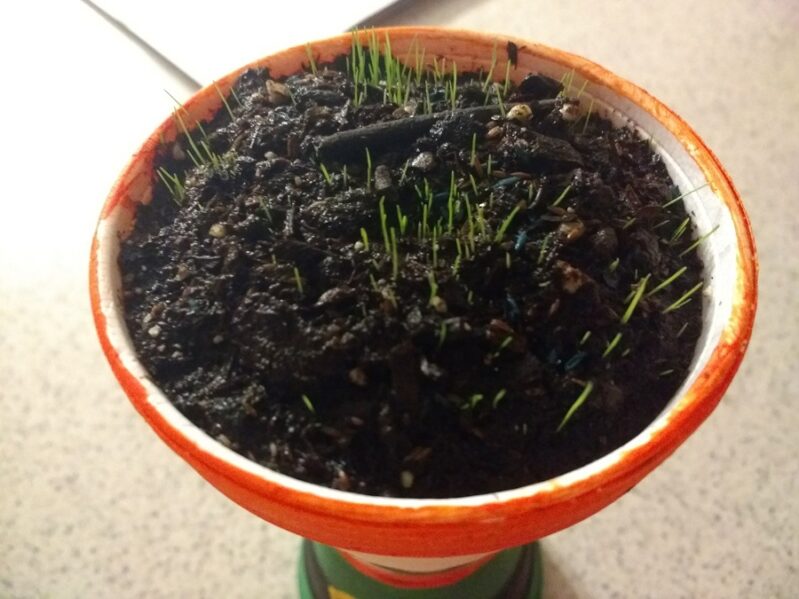
It was almost time for a hair cut by day fourteen! This is great scissors practice!
Give paper bags “haircuts” and practice scissor skills!
Tips, Tricks & Extra Ideas for Your Leprechaun Craft!
It wouldn’t be a craft without making a mistake or two! And I did make a mistake with this project.
I allowed my daughters to fill the foam cups all the way to the top with potting mix. As a result, the soil continued pushing up as the leprechaun’s hair grew.
I would make sure to leave some space at the top of the cup if we were to try this activity again.
Not all projects are perfect!
I would also recommend setting these onto paper towels or water-proof plates. When you water there may be a little bit of water draining out.
For an extra learning twists you might try:
- Plants: try planting different things, like flowers and herbs, instead of just grass
- Charts: track how long your seeds take to grow, then measure how tall they get
- Other Pots: try painting cups to look like other spring things, like ducks or pots of gold. Or save (clean) eggshells to use a biodegradable mini-pots
- Transfer: whatever you plant, gently move the seedlings to the garden outside.
Overall, I think they turned out quite well, just as is!
What’s your favorite St. Patrick’s Day or leprechaun craft?
We’d love to try your faves this spring!
0 Commentaires